
If you’re a Lego enthusiast, chances are you’ve spent hours perfecting your creations. But once the final brick is clicked into place, the next big question arises: how do you display your Lego builds in a way that does them justice? From clever DIY solutions to creative hacks, we’ve got ideas to make your displays as impressive as the builds themselves. Whether you’re showing off a sprawling Lego city, a Technic masterpiece, or a mini-figure collection, there’s a display method here for you.
Why Displaying Your Lego Builds Matters
Let’s be honest—Lego isn’t just a toy; it’s a statement. Your builds reflect your creativity, patience, and attention to detail. Leaving them to gather dust in a corner or worse, letting them get knocked over by an enthusiastic pet, is a tragedy no builder should endure.
A good display does more than protect your builds; it showcases them like the works of art they are. Think about it: wouldn’t a perfectly lit Millennium Falcon or a colourful modular building look incredible as part of your room’s decor? A carefully planned display can turn your Lego into a conversation starter, and the best part? You don’t have to spend a fortune to make it happen.

1. Floating Shelves for a Clean, Minimal Look
Floating shelves are a classic choice for displaying Lego builds, and it’s easy to see why. They’re sleek, modern, and versatile, letting your creations take centre stage without overwhelming the room. You can use them for anything from a compact Speed Champions car to a fully decked-out modular building.
DIY Tips for Floating Shelves:
- Arrange the shelves in staggered heights to create a dynamic look. This works particularly well for displaying sets of varying sizes, like placing a smaller BrickHeadz build next to a towering Ninjago mech.
- Paint the shelves in a contrasting colour to make your Lego creations pop. For example, white shelves against a dark wall make bright Lego colours stand out beautifully.
2. Glass Cabinets for a Dust-Free Display
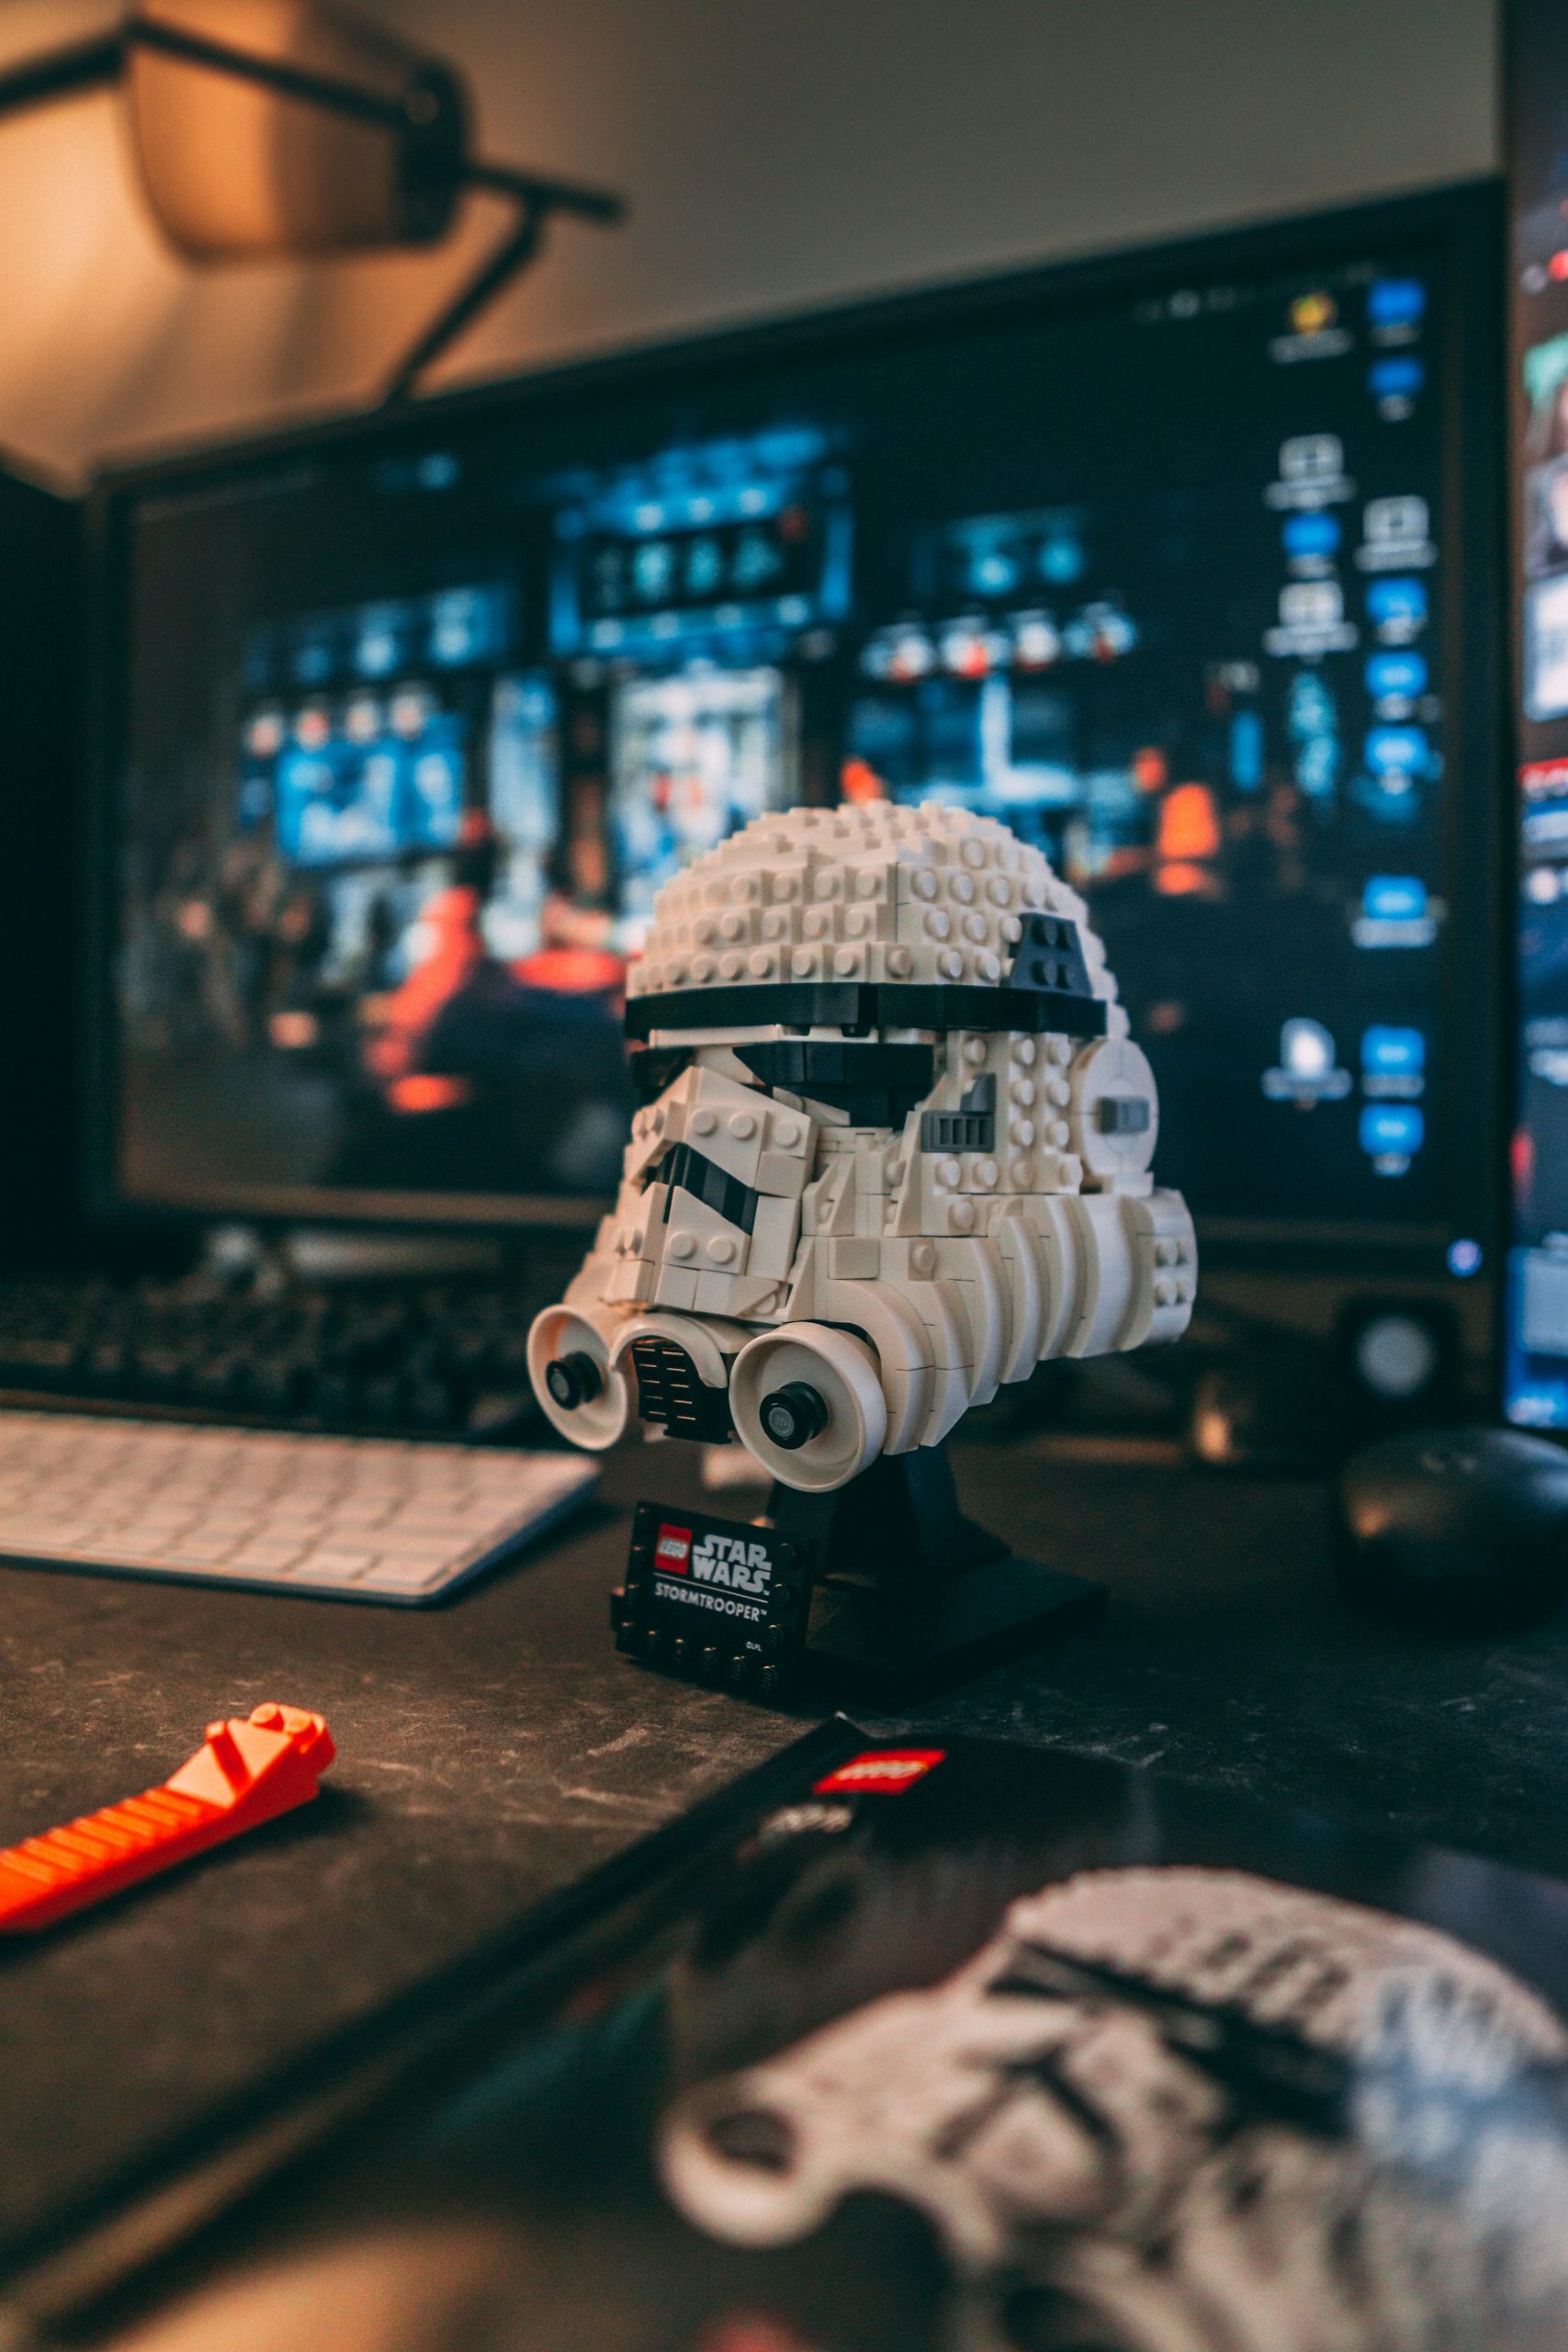
Dust: the eternal nemesis of Lego enthusiasts. If you’ve ever painstakingly brushed off every tiny stud on a Lego Star Destroyer, you know the pain. Glass cabinets are a lifesaver, keeping your builds dust-free while giving them a museum-like showcase.
When I finally saved up for a glass cabinet, it transformed how I displayed my modular Lego buildings. Now they sit proudly inside, lit by subtle LED strips, safe from dust and curious hands.
DIY Alternatives:
If you’re on a budget, don’t worry. Repurpose an old fish tank or a second-hand cabinet with a glass front. Add a few floating risers inside to display multiple levels of builds, and you’ve got yourself a dust-free zone on a budget.
3. Custom Backdrops to Add Personality
A Lego display with a backdrop can take your setup from good to jaw-dropping. Imagine your Star Wars ships with a starry galaxy behind them or your modular city streets in front of a printed urban skyline. Backdrops add context and bring your builds to life.
DIY Ideas for Backdrops:
- Print large images on poster paper and secure them to the back of your shelves or cabinets. You could even use wrapping paper for colourful, temporary designs.
- Feeling adventurous? Paint your own backdrop. Even simple clouds on a blue background can turn a basic Lego display into something magical.
4. Shadow Boxes for Mini-Figures
Mini-figures are the unsung heroes of any Lego collection. They deserve a display that highlights their unique details and personality. Shadow boxes are a fantastic option for this. You can arrange your mini-figures in neat rows, creating a gallery of your favourites.
DIY Hack:
Glue small Lego plates to the inside of the shadow box to act as stands for your mini-figures. This keeps them secure and makes it easy to swap them out when you want to refresh the display. Whether it’s a lineup of Marvel superheroes or a parade of classic spacemen, shadow boxes make mini-figures shine.
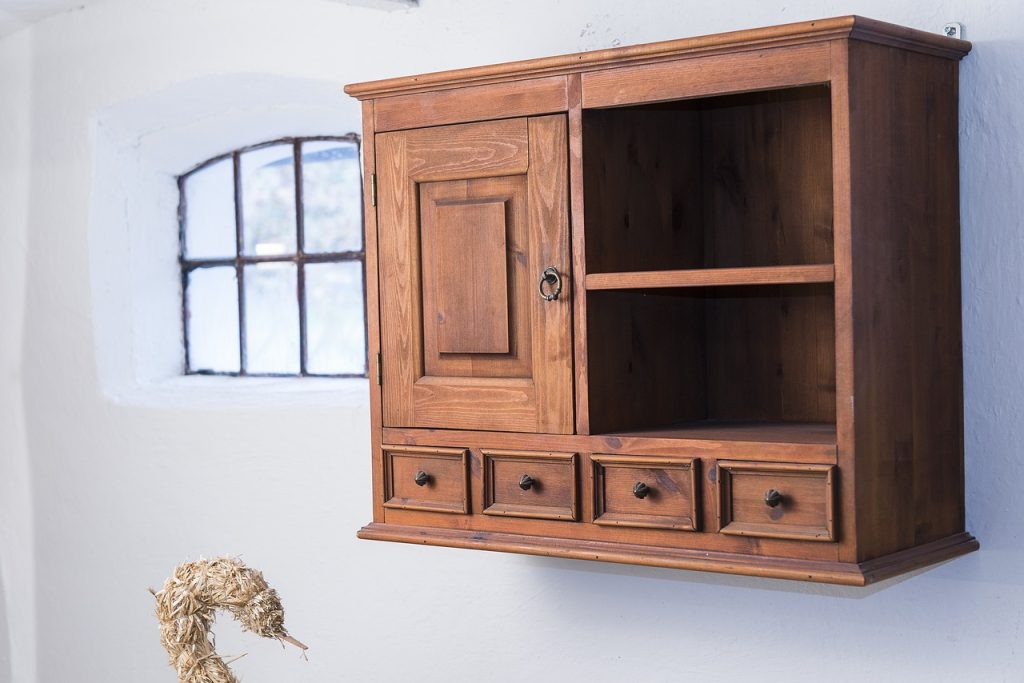
5. Repurpose Household Items
Sometimes, the best display solutions are hiding in plain sight. Household items like spice racks, cake stands, and even old bookshelves can make excellent Lego displays. Not only are they budget-friendly, but they’re also great for smaller collections or seasonal setups.
Creative Ideas:
- Use a tiered spice rack for small builds like polybags or BrickHeadz.
- Repurpose a lazy Susan for rotating displays of mini-figures or small vehicles.
- Place completed sets on sturdy bookcase shelves for an instant Lego gallery.
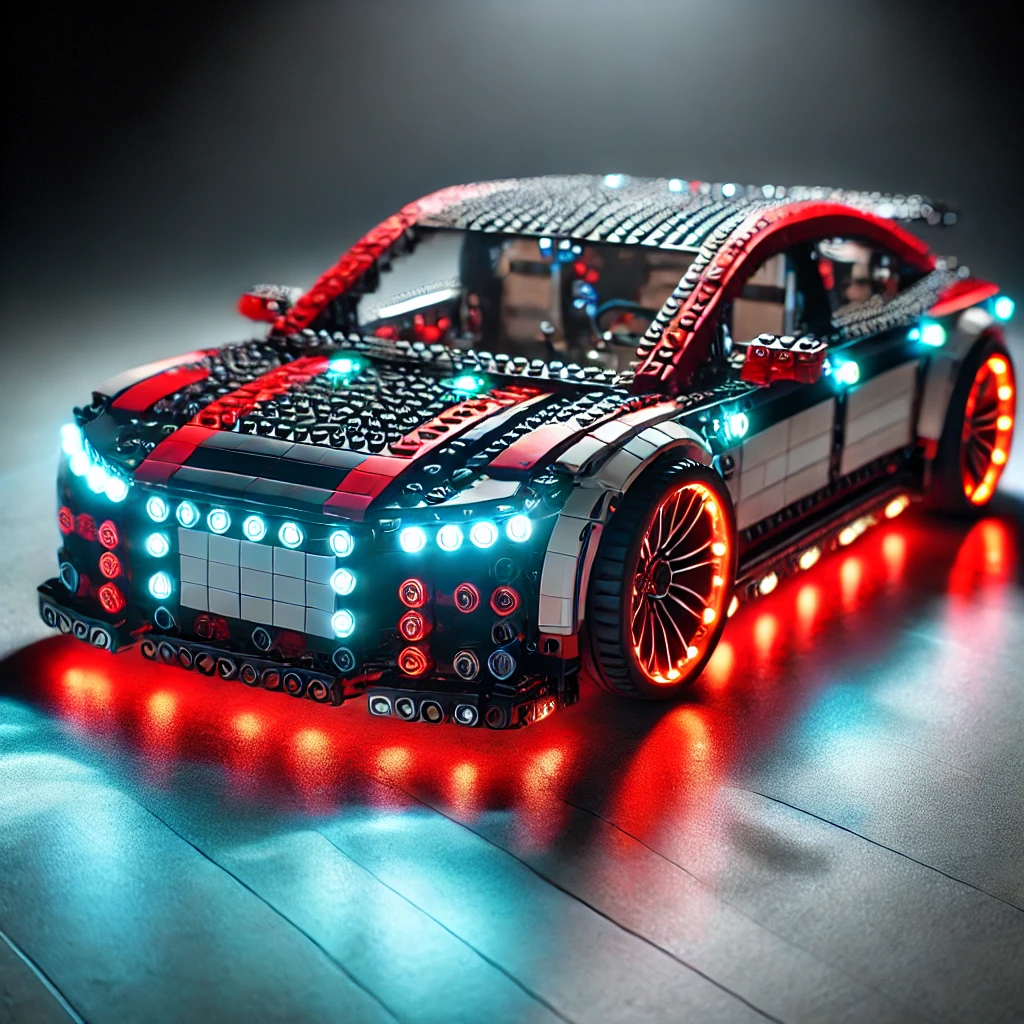
6. LED Lighting for Maximum Impact
Lighting can elevate a Lego display from ordinary to extraordinary. The right lighting not only highlights the details of your builds but also creates a dramatic effect that draws attention to your collection. I once added LED strips under a floating shelf for my Lego Technic Porsche, and it turned the entire display into a showroom-worthy centrepiece.
DIY Lighting Tips:
- Use battery-powered LED strips for easy installation. You can place these under shelves or around the edges of cabinets for subtle illumination.
- Choose the right lighting colour to match your theme. Warm lights work well for cityscapes, while cool blue tones are perfect for space builds or underwater themes.
7. Organising Larger Displays
For those of us lucky enough to have a dedicated Lego room (or even just a large table), creating an organised display is key. Larger builds like train sets or city layouts benefit from a well-planned space.
Ideas for Layouts:
- Use a modular table system to create levels, adding depth to your display.
- Add small DIY signs or labels to identify each section, especially for intricate setups like castles or spaceports.
Final Thoughts on How to Display Your Lego Builds
Knowing how to display your Lego builds is a skill that every enthusiast should master. Whether you’re working with floating shelves, DIY backdrops, or creative lighting, the options are endless. What matters most is that your display reflects your passion and creativity.
Lego is about more than just building; it’s about sharing your creations and the stories behind them. With these simple DIY display ideas, you can turn your builds into the centrepiece of any room. What’s your favourite display method? Let us know in the comments or share your setups—we’d love to see what you’ve created!